Introduction
Quickstart
This quickstart guides you through installing SyncExcel, signing in, and setting up your first connection to sync your Notion databases with Excel. You’ll be able to move data with minimal setup while exploring what SyncExcel can do.
Prerequisites
To use SyncExcel, you'll need the following:
- A Notion account
- 1 or more Notion databases
- A work or school Microsoft account
- Microsoft Excel for Web or any version of Microsoft Excel from 2019 onwards
1. Install SyncExcel
Open Microsoft Excel.
Click File > Get Add-ins > More Add-ins. Or you can also select Home > Add-ins > More Add-ins.
Search for SyncExcel and click Add.
2. Sign in
You’ll find SyncExcel in the Office ribbon.
If SyncExcel isn’t already open, click the SyncExcel button in your ribbon.
Then, Click Sign in with Microsoft work or school account.

3. Create your first database connection
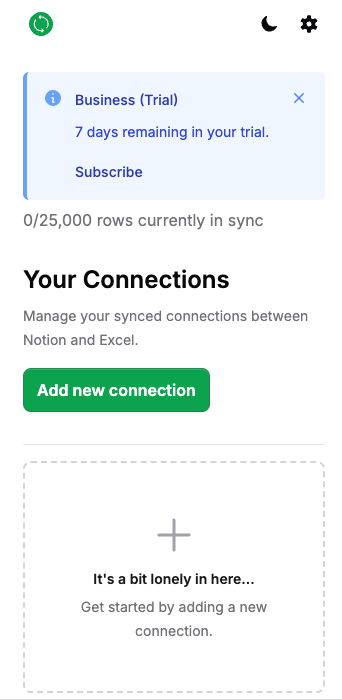
Click Add new connection
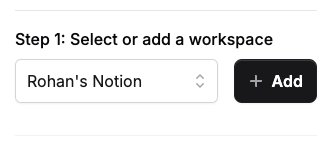
3.1. Select or add a workspace
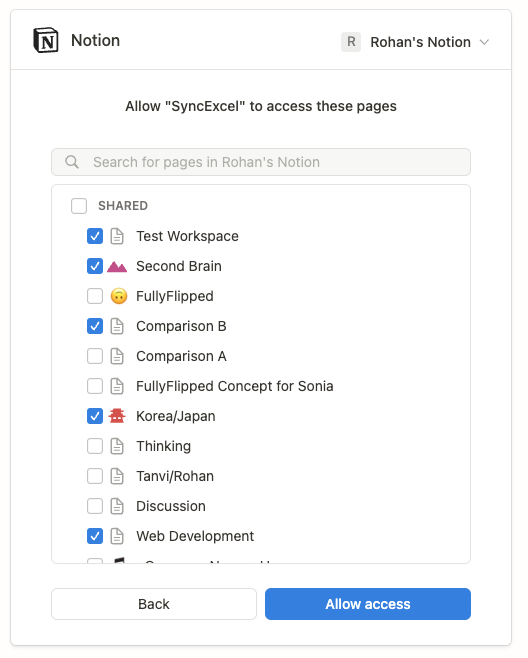
Click Add to connect your Notion workspace to SyncExcel. A dialog box will open.
In the dialog box, click Select pages. Select all pages that contain a database that you want to sync between Notion and Excel.

Close the dialog window after being prompted to do so.
In SyncExcel, select your workspace.
To give SyncExcel access to any other pages, click Add to open the dialog again.

3.2. Select a database
When you open the dropdown, the databases from the Notion pages that you selected in the previous step will be populated.
Click the popout icon next to a database to see it in Notion. This is useful to confirm you’re selecting the correct database.
Select a database to continue to the next step.
3.3. Set sync directions
Once you select a database, SyncExcel loads all the properties of the Notion database.
Here’s where you specify the source of truth for each column.
Specify data to flow from Notion to Excel for a column by clicking the Notion button. Or, specify data to flow from Excel to Notion by clicking the Excel button.
Don’t worry if you’re unsure, you can always delete and recreate a connection at any time.
If you notice that some of your properties are greyed out, some properties can only have a sync direction of Notion to Excel. See Sync directions for more information
Click Add Connection and wait a few moments while the connection is being formed. Depending on the size of your database, this may take a few seconds to a few minutes.
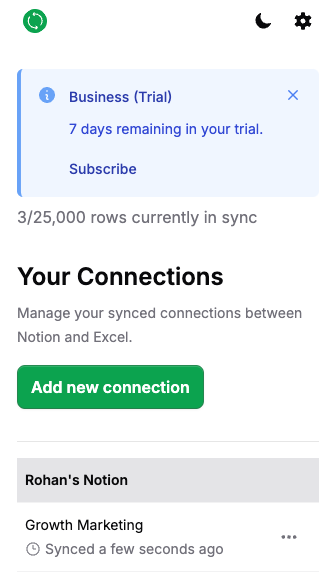
That’s it! You should now see your connection in the dashboard. We’ll now keep your Notion database and Excel table in sync forever (or until you delete the connection).
